Navigating the Mystical Grounds: Finding Your Way Into Scholastone Institute in Crimson Desert
The sprawling, untamed lands of Crimson Desert are rife with secrets, ancient powers, and formidable challenges. Among its most enigmatic locations is the Scholastone Institute, a place of scholarly pursuits that quickly transforms into a nexus of high-stakes adventure. If you're tackling the pivotal "Gate to the Otherworld" quest, knowing precisely how to Find A Way Into Scholastone's deepest chambers and solve its intricate puzzles is paramount to your success.
Situated strategically southwest of both Hernand and The Witchwoods, the Scholastone Institute isn't just a single point of interest but a multifaceted hub. It’s where you'll confront mind-bending experiments, discover hidden artifacts, and even unlock pathways to other realms. Your primary encounter with the institute's core mysteries will occur during Chapter 4, specifically within the "Forbidden Knowledge" questline. This comprehensive guide will walk you through every step, ensuring you're fully equipped to unravel the institute's grand design and overcome its challenges.
The Core Challenge: Solving Octavius's Experiment at Scholastone
As you progress through the "Forbidden Knowledge" quest in Chapter 4, your journey will lead you directly to the Scholastone Institute. Upon arrival and after a crucial conversation with the Dean, you'll be tasked with assisting the eccentric Octavius with his pivotal experiment. This is the heart of the "Gate to the Otherworld" quest and involves a complex, multi-stage puzzle that tests your observation skills and mastery of your character's unique abilities. Understanding each phase is key to successfully navigating this critical juncture.
Activating the Lock Device: The Underground Secret
The first major hurdle in Octavius's experiment is locating and activating a hidden lock device switch. The game will hint that it's located "underground," which can be a bit vague in a sprawling institute. Here's a precise route to help you Find A Way Into Scholastone's hidden mechanics:
- From Octavius's location, begin by walking directly south.
- Look for an opportunity to drop down to a lower ledge. This often requires careful platforming, so survey your surroundings for the most accessible descent point.
- Once safely on the lower ledge, proceed by walking upstairs into what appears to be a large, often cavernous, chamber. This area might feel more ancient or less maintained than the main institute.
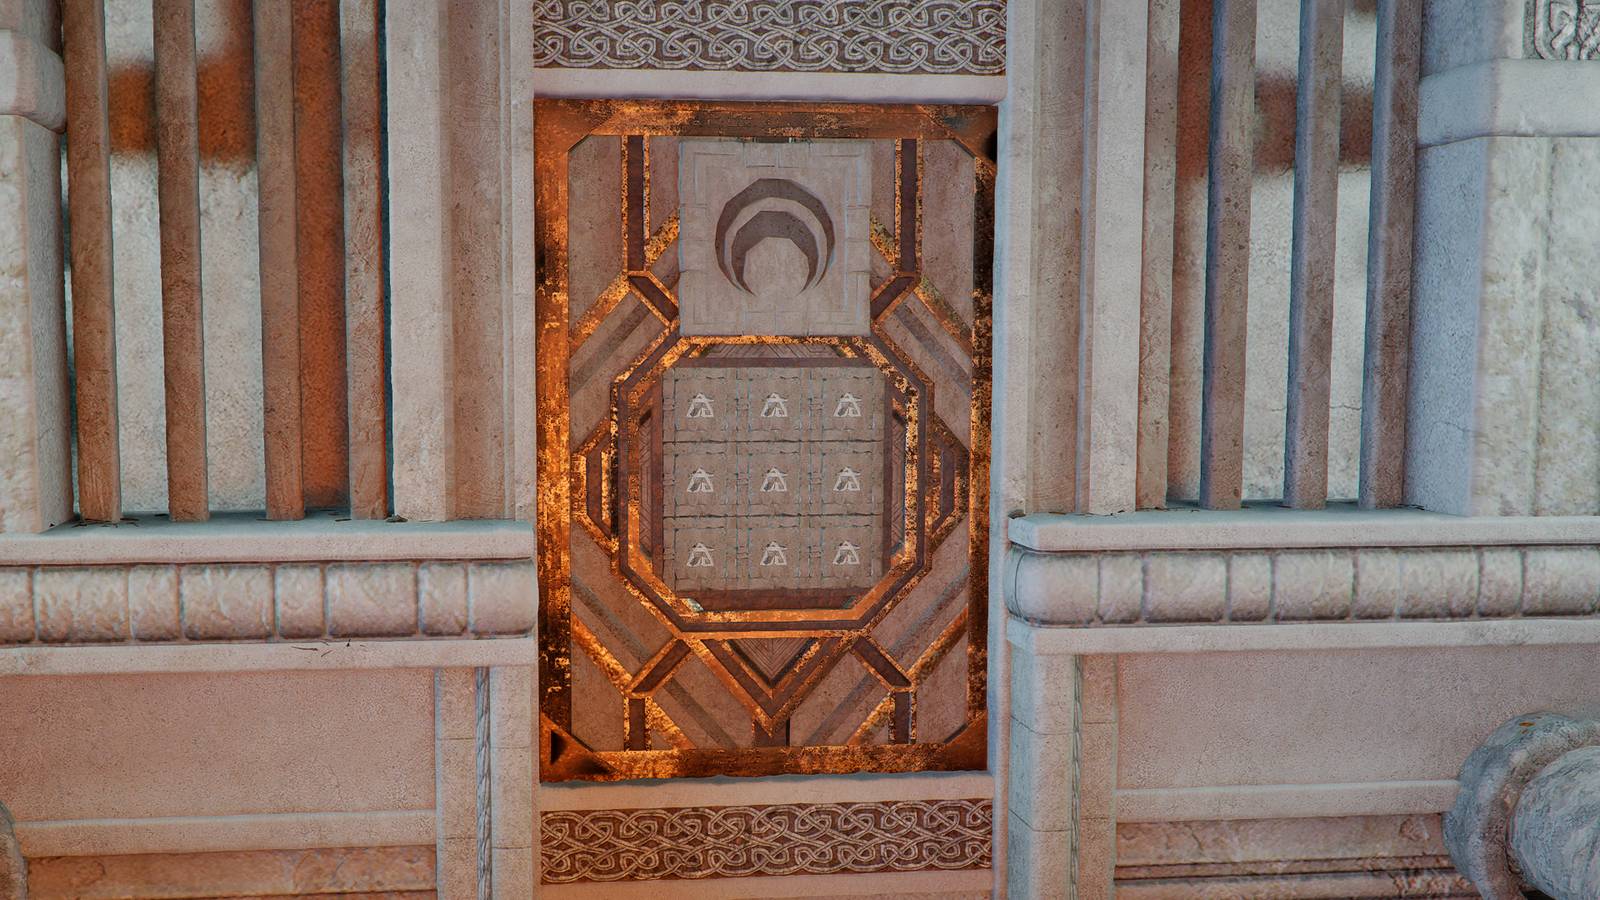
- Around a prominent corner within this chamber, you'll discover a square set of buttons – this is your primary puzzle interface for the first stage.
Tip: Always keep an eye out for environmental clues like distinct architectural changes or subtle lighting. Crimson Desert often guides you with visual cues, even if the verbal directions are broad. Don't be afraid to explore every nook and cranny; the most important secrets are rarely in plain sight.
The Button Sequence: Cracking the Code
With the lock device found, the next step involves inputting the correct sequence into the square set of buttons. This is a critical juncture where a single mistake can lead to frustration and a need to restart the sequence. While the exact visual pattern needs to be observed carefully in-game (as it may be presented graphically), the objective is to press the buttons in a specific, predetermined order. Focus on any glowing indicators, subtle sound cues, or environmental hints that might reveal the correct progression.
Once you've successfully entered the sequence – which you'll typically confirm via an auditory or visual cue in-game – a mechanism will activate. Your next action is to locate and pull the lever positioned directly behind the puzzle. This signifies the successful completion of the first major phase, and you can now return to Octavius outside to report your progress and move on to the next stage of his ambitious experiment.
Powering the Device: Batteries and Force Abilities
Upon rejoining Octavius, the experiment continues with the activation of a powerful device. This requires you to insert specialized batteries – often appearing as floating electric cubes – into designated square sockets. Fortunately, the designers have made this part slightly more intuitive: each battery is conveniently floating next to a corresponding pillar, minimizing the hunt for their locations.
However, simply finding them isn't enough; you'll need to employ your character's unique abilities to manipulate them into place:
- Axiom Force: This ability is your primary tool for spatial manipulation. Use Axiom Force to grab and precisely move the floating batteries. Aim carefully to guide them towards their respective sockets. Think of it as a telekinetic grip, allowing you to fine-tune the battery's position even from a distance.
- Force Palm: Once a battery is correctly aligned and hovering over a socket, use Force Palm to push it firmly into position. This ability typically delivers a focused, concussive blast, perfect for locking objects into place or interacting with pressure-sensitive mechanisms. It ensures the battery is securely seated and activated.
Repeat this precise process for all available batteries, ensuring each one clicks securely into its socket. Once all are inserted, the device will be fully powered and ready for its climactic activation, bringing you one step closer to completing the "Gate to the Otherworld" quest.
Confronting Tenebrum and Beyond: The Spire of the Stars Awaits
With the device powered, Octavius will proceed to activate the unstable core. This is where the experiment takes a dramatic turn, demanding your quick reflexes and powerful abilities. As the core begins its volatile reaction, you must immediately engage it using your Axiom Force. Keep pulling on the core with all your might, resisting its destabilization, until it finally explodes in a spectacular burst of energy.
Be warned: the moment the core detonates, the "Gate to the Otherworld" quest immediately transitions into a challenging boss battle against Tenebrum. This formidable foe will test your combat prowess, demanding strategic movement, effective dodges, and well-timed attacks. Tenebrum is a powerful entity, so prepare for a multi-phase fight. Study its attack patterns, look for openings after its heavier attacks, and make full use of your character's diverse skill set, including dodges, parries, and powerful special abilities. Exploit any environmental advantages you can find, and don't hesitate to use consumables for healing or buffs. Defeating Tenebrum not only completes the "Gate to the Otherworld" quest but also unlocks a monumental reward: the ability to enter the coveted Spire of the Stars, opening up new areas, advanced challenges, and further narrative progression within Crimson Desert.
Unlocking Scholastone's Other Secrets: More Than Just a Puzzle
While the "Gate to the Otherworld" quest and Octavius's experiment are central to the Scholastone Institute, the area holds additional significant discoveries that enrich your Crimson Desert experience. Knowing how to Find A Way Into Scholastone's every nook and cranny can yield valuable items and complete other objectives, proving the institute is far more than just a puzzle hub.
The Scholastone Institute Bell: A Collector's Find
For completionists and those seeking every secret, the Scholastone Institute hosts one of Crimson Desert's collectible Bell Towers. These bells often mark important locations or hidden lore, and finding them is a satisfying mini-quest in itself. The Scholastone Institute Bell is located in a distinctive white gazebo. To reach it, you'll need to ascend to the outdoor garden courtyard on the institute's second floor. Keep your eyes peeled for this elegant structure amidst the scholarly architecture; its chime is a clear indicator of a secret found and a step closer to game completion.
The Hidden Cave & Legendary Mount Cloak: A Detour Worth Taking
Beyond the institute's main buildings lies a more rugged secret: a hidden cave housing a legendary treasure. This cave, found southwest of Hernand, is crucial if you're aiming to acquire the fabled Legendary Mount Snowwhite Deer Cloak. However, gaining entry isn't straightforward. The path inside is blocked by a formidable rock barrier, requiring a specific ability to overcome.
To shatter this impediment, you'll need the Focused Force Punch ability. This powerful skill is unlocked after you complete Chapter 4 of the main storyline. To learn it, you must interact with a specific spot along a road while holding a lantern – a detail often overlooked by new players, requiring keen observation. While bypassing this rock isn't strictly mandatory for the main quest, acquiring Focused Force Punch makes the entire process of retrieving the cloak significantly less frustrating and more efficient. It exemplifies how mastering your character's full suite of abilities is essential for uncovering all of Crimson Desert's hidden depths. For a detailed guide on this specific quest, check out Find Scholastone's Hidden Cave: Get the Legendary Mount Cloak in Crimson Desert.
Conclusion: Your Path Through Scholastone's Mysteries
The Scholastone Institute stands as a testament to the layered and rewarding gameplay of Crimson Desert. From navigating Octavius's intricate experiment to facing down the fearsome Tenebrum, and then uncovering the institute's supplementary secrets like the hidden bell and the Legendary Mount Cloak, it's a location brimming with adventure. By following this comprehensive guide, you now possess all the knowledge needed to confidently Find A Way Into Scholastone's core, solve its puzzles, claim its rewards, and bravely step through the "Gate to the Otherworld" into the Spire of the Stars. Embrace the challenge, master your abilities, and let no mystery remain unsolved in your journey across Pywel. The scholarly secrets of Scholastone await your discovery!